Transfer Dog Microchip After Adoption: Easy Steps
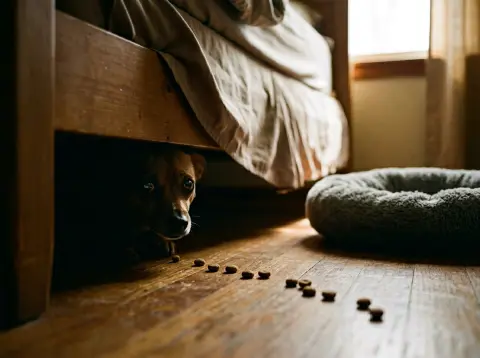
I still remember the frantic panic when Daisy, my sweet Beagle mix, slipped out the back gate during a massive thunderstorm last summer in Austin, TX. My heart pounded for three agonizing hours. What if she was gone for good? Thankfully, a kind neighbor found her a few blocks away and, seeing her tags were soaked and illegible, took her to a local vet. That vet scanned her, found her microchip, and because I had completed the dog microchip transfer after adoption, they called me directly. She was back in my arms within six hours, a little muddy but otherwise unharmed. That experience cemented my belief: transferring that microchip is not just a suggestion; it's a lifeline.
Why Microchip Transfer is Non-Negotiable
Transferring your adopted dog's microchip registration into your name is an essential step in responsible pet ownership. This simple process ensures that if your dog ever gets lost and is found by a shelter or vet, they can immediately access your current contact information, not the shelter's or a previous owner's. Think of it as your dog's permanent, tamper-proof ID card, linking them directly to you. It's a critical safety measure, especially considering that roughly 1 in 3 pets will go missing at some point in their lives.
Moreover, an updated microchip registration serves as powerful legal proof of ownership. This can be surprisingly important, particularly with rescue animals where previous ownership records might be murky or in situations where a dog is found and someone else tries to claim them. Having the chip registered in your name with current details makes your claim undeniable. It's an often-overlooked aspect, but it offers immense peace of mind.
Your Step-by-Step Guide to Microchip Transfer After Adoption
Completing your dog's microchip transfer after adoption might seem like a daunting task, but it's a straightforward process once you understand the steps involved. This guide will walk you through everything from finding the chip number to contacting the right registry, ensuring your dog is registered to you.
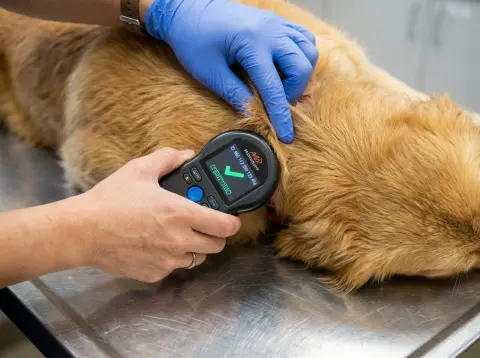
Finding the Microchip Information
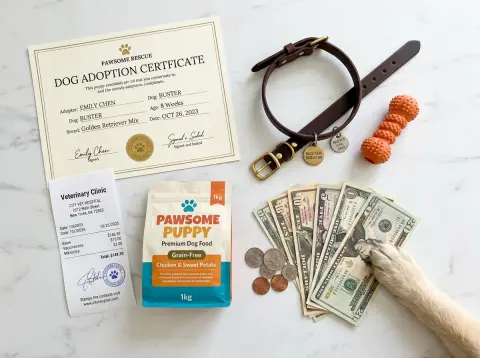
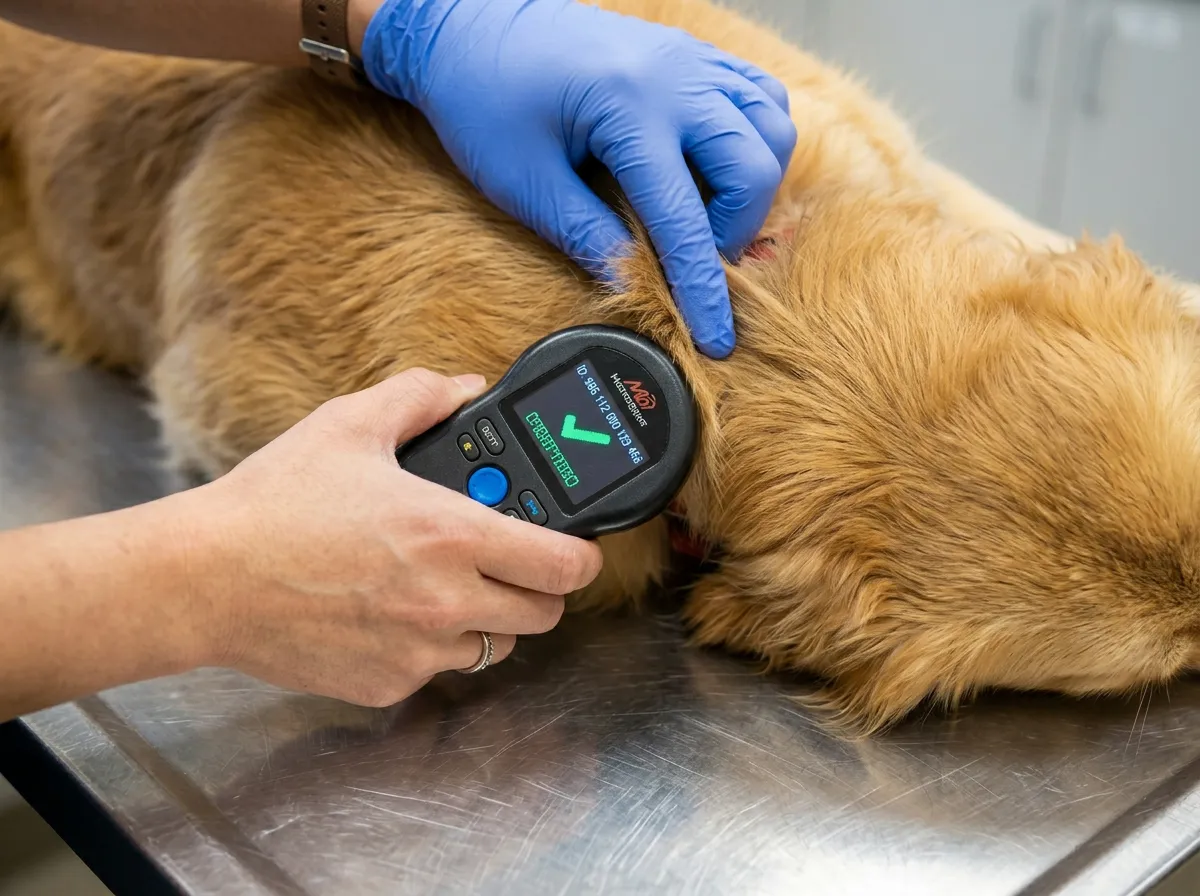
First, you need the microchip number itself. This is a unique 9 to 15-digit number. Most adoption paperwork provided by local shelters or rescues will include this number. It might be listed on the adoption contract, a health certificate, or a separate microchip registration form. If you can't find it, your veterinarian can scan your dog during their first check-up and provide the number. It's a quick, painless process for your dog.
Identifying the Registry
Once you have the microchip number, your next step is to figure out which company registered the chip. There isn't one universal microchip database, which can be confusing. However, several online tools can help. I always recommend starting with the AAHA Universal Pet Microchip Lookup Tool. You enter the chip number, and it will tell you which registry holds the information. Other useful sites include PetMicrochipLookup.org.
Contacting the Registry and Initiating Transfer
After identifying the registry (e.g., HomeAgain, PetLink, AKC Reunite, 24PetWatch), you'll need to contact them directly. Many companies allow you to initiate the transfer online. You'll typically create an account, enter the microchip number, and follow their specific instructions. You'll usually need to provide your personal contact information, proof of adoption (like a copy of your adoption contract), and sometimes the previous owner's or shelter's information. Some registries charge a one-time transfer fee, while others offer free transfers.
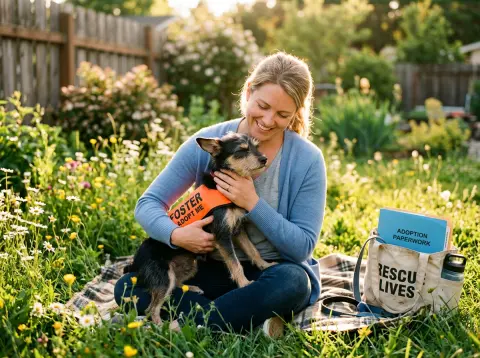
What to Expect from Your Shelter
A responsible shelter should initiate the microchip transfer process or provide you with clear instructions and all necessary documentation to complete it yourself. Many will register the chip to themselves initially and then transfer it to you upon adoption. Some shelters even cover the transfer fee. My adopted cat, a ginger tabby named Marmalade, adopted in 2017 from a small rescue in Portland, ME, had an unregistered chip that they had simply forgotten about. It cost me $20 to register it with PetLink and get her linked to my information. Don't be afraid to ask your adoption counselor about their specific microchip transfer policies before you even take your cat or dog home.
Common Hurdles and How to Overcome Them
While the process is generally straightforward, you might encounter a few bumps in the road. Knowing how to handle these can save you a lot of frustration.
When the Shelter is Unresponsive
Sometimes, despite your best efforts, the shelter might be slow to respond or provide the necessary information. If you've tried contacting them multiple times without success, don't give up. Reach out to the microchip registry directly. Explain that you've adopted the animal and the shelter isn't responding. Many registries have protocols for these situations, sometimes allowing you to submit adoption paperwork directly to them. Some even have a 30-day auto-transfer policy if the previous owner (the shelter, in this case) doesn't verify within that timeframe.
Dealing with Fees and Different Registries
The cost and services associated with microchip registration vary significantly by company. Some registries offer free lifetime registration and transfers, while others charge a one-time or annual fee. It is important to know what you are getting into.
| Registry | Transfer Fee | Annual Fee (Optional) | Notes |
|---|---|---|---|
| HomeAgain | $0 | $21.99/year | Free registration and transfer for life. Annual fee for extra services. |
| AKC Reunite | $0 | $19.95/year | Free registration and transfer. Annual fee for optional enrollment benefits. |
| PetLink | $29.99 | $0 | One-time transfer fee, then free for life. |
| 24PetWatch | $0 | $0 | Free to register and transfer for life. |
| Microchip Central (UK) | ~£15.00 + VAT | $0 | UK specific, transfer fee applies for lifetime registration. |
Honestly, it drives me bonkers that some shelters, who are supposed to be advocates for these animals, routinely send pets home with chips still registered to them or, worse, to a previous owner who has no interest in the animal. It's not a secret that registered microchips reunite more pets with their families than any other tool. Why on earth do we make it so hard for adopters? Shelters should have a rock-solid, non-negotiable policy to complete the transfer themselves, or at least provide a pre-paid, pre-filled form, as part of the adoption process. Expecting a new adopter, who is already adjusting to a new family member, to jump through hoops with multiple registries and potential fees is a failure of the system, plain and simple.
Microchip Transfer Checklist: Ensuring Your Dog is Safe
To make sure you don't miss any critical steps, here is a quick checklist to guide you through the microchip transfer process for your newly adopted dog:
- Before Adoption: Ask the shelter for the microchip number and the name of the microchip company. Confirm their transfer policy.
- Day of Adoption: Get all available paperwork, including any microchip registration forms.
- Within 24 Hours: Use the AAHA Universal Pet Microchip Lookup Tool to verify the chip number and identify the registry.
- Within 1 Week: Contact the identified microchip registry. Create an account, initiate the transfer, and pay any required fees.
- Within 2 Weeks: Confirm the transfer is complete. Check your online account with the registry to ensure your information is listed as the primary contact.
- Ongoing: Update your contact information immediately if you move or change phone numbers.
Email transfers typically take 5-7 business days, while phone transfers are often immediate.
This whole process might seem like a lot, but it genuinely takes less time than you think and offers invaluable protection for your dog. What's more important than knowing your best dog name choice can find their way back to you?